

Annotation Marker Types
When starting a new conversation, you first need to decide which annotation marker type will serve best as the conversation base. For example, if you wish to start a conversation regarding the contents of a specific cell in the grid, you simply right click on the cell and select "Annotation" to start your conversation based on that specific cell. As a result, a cell annotation marker is displayed in that cell. And when you search later through your conversations in the All Conversations panel, the conversation will appear in the cell category.
Five Annotation Marker Types
There are five annotation marker types and this help page provides step-by-step instructions for creating conversations based on each type.
- Report Annotation Markers

- Slide Annotation Markers
- Component Annotation Markers

- Dimension Annotation Markers

- Cell Annotation Markers

NOTE: We recommend that you read about local vs. global annotation markers to gain an understanding of how annotation markers can be associated with reports, slides or data models.
Green and Red Annotation Markers
When you begin entering a conversation, a temporary green annotation marker indicates the place where you are creating a conversation. Once you "submit" the conversation, the annotation marker turns red.
For report-level conversations, temporary green annotation markers are not displayed. Once the conversation is submitted, a red annotation marker is added at the top of the report. The same is true for slide-level conversations.
What should be emphasized is that multiple conversations can be based on a single annotation marker. For example, if you create a report-level conversation, you will base it on a report annotation marker. But if you enter an additional report-level conversation, there will still be a single annotation marker (not two markers). The presence of a marker indicates that one or more conversations have been created on that level.
The table below summarizes the usage of annotation markers.
| Annotation Type | During Creation | After Submission |
|---|---|---|
| Report Annotations | no marker | red marker |
| Slide Annotations | no marker | red marker |
| Component Annotations | green marker | red marker |
| Dimension Annotations | green marker | red marker |
| Cell Annotations | green marker | red marker |
Report Annotation Markers
For each report you create in the Data Discovery application, you can create one or more report conversations.
Follow the steps below to create a report conversation.
STEP 1
Open the Data Discovery application and click the Home/Conversations icon to display the All Conversations panel.
STEP 2
Click the plus icon ![]() in the All Conversations panel to start a new conversation.
in the All Conversations panel to start a new conversation.
![]()
STEP 3
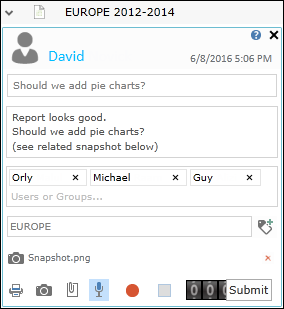
Fill in the conversation details and click Submit.
STEP 4
Once the submit is complete, a red annotation marker appears in the report header (as shown below).

Slide Annotation Markers
For each slide you create in the Story Board application, you can create one or more slide conversations.
Follow the steps below to create a slide conversation.
STEP 1
Open the Story Board application and click the Home/Run Storyboard icon to enter runtime mode.
STEP 2
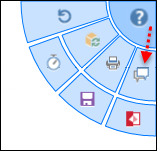
Click on the Conversations icon in the upper right corner (as shown below) to open the All Conversations panel.
STEP 3
Click the plus icon ![]() in the All Conversations panel to start a new conversation.
in the All Conversations panel to start a new conversation.
![]()
STEP 4
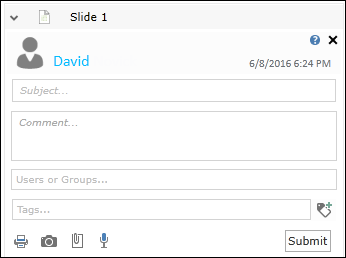
Fill in the conversation details and click Submit.
STEP 5
Once the submit is complete, a red annotation marker appears at the top of the slide (as shown below).
Component Annotation Markers
For each component in a report or a slide, you can create one or more component conversations.
Follow the steps below to create a component conversation.
STEP 1
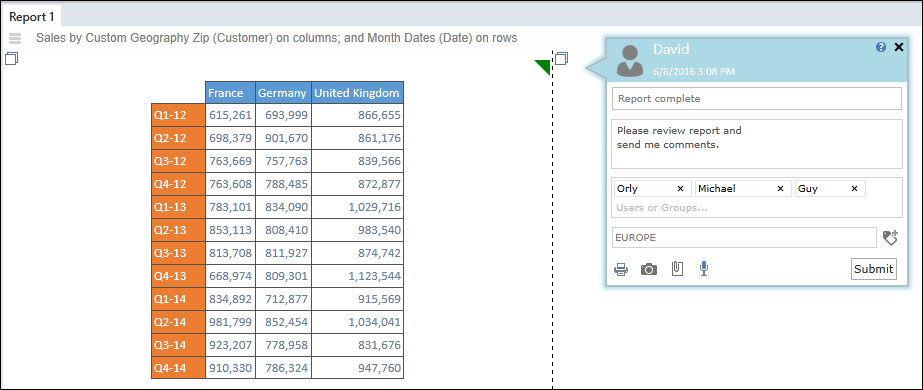
Right click in the component pane and select "Start a Conversation". The conversation dialog appears and a green annotation marker appears in the top right of the component pane (as shown below).
STEP 2
Fill in the conversation details and click Submit.
STEP 3
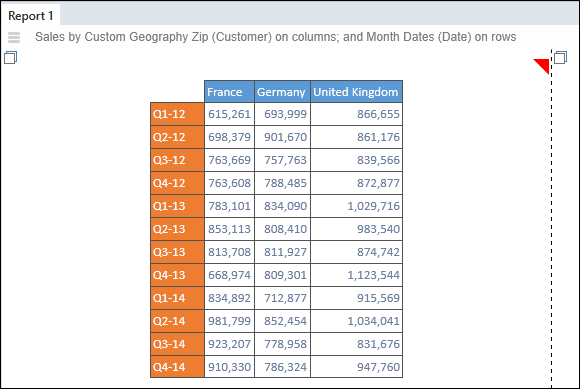
Once the submit is complete, the annotation marker turns red (as shown below).
Dimension Annotation Markers
For each grid dimension in a given report, you can create one or more dimension conversations.
Follow the steps below to create a dimension conversation.
STEP 1
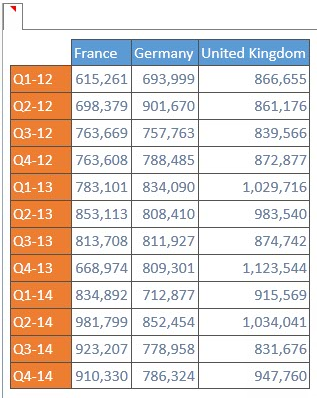
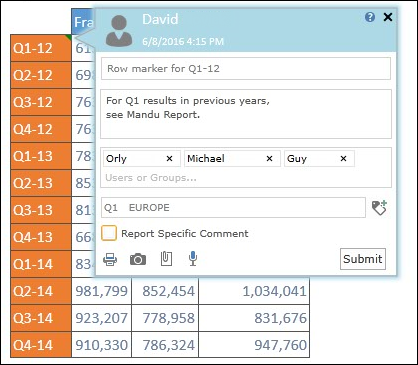
Right click on any cell containing a row label or column label, and select "Annotate". The conversation dialog appears and a green annotation marker appears in the cell of the row/column label (as shown below).
STEP 2
Fill in the conversation details and click Submit.
NOTE: In this example, the user has unchecked the "Report Specific Comment" box and therefore the annotation will be globally associated with the relevant dimension in the data model.
STEP 3
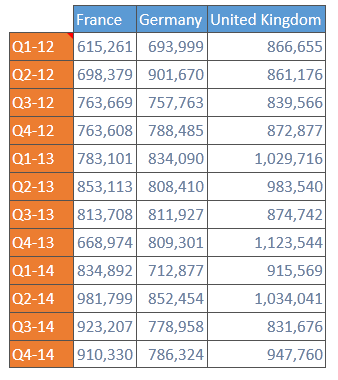
Once the submit is complete, the annotation marker turns red (as shown below).
Cell Annotation Markers
For each grid cell in a given report, you can create one or more cell conversations.
Follow the steps below to create a cell conversation.
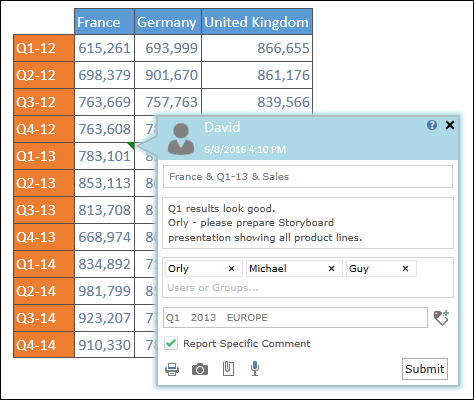
STEP 1
Right click on a cell and select "Annotate". The conversation dialog appears and a green annotation marker appears in the cell (as shown below).
STEP 2
Fill in the conversation details and click Submit.
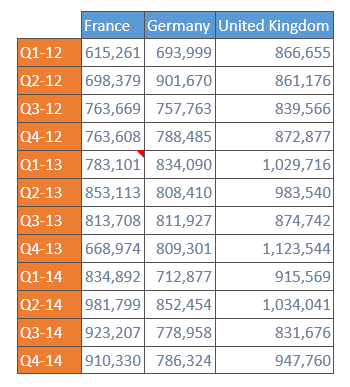
STEP 3
Once the submit is complete, the annotation marker turns red (as shown below).
Home |
Table of Contents |
Index |
User Community
Pyramid Analytics © 2011-2022